Additional Sources in Windows Media Encoder
If you would like to add pre-recorded content as part of your Live Stream, follow the steps below; After configuring your Encoder for a Live Stream (
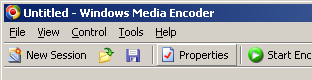
Push or
Pull) click the Properties button, show in Figure 1; [Figure 1]
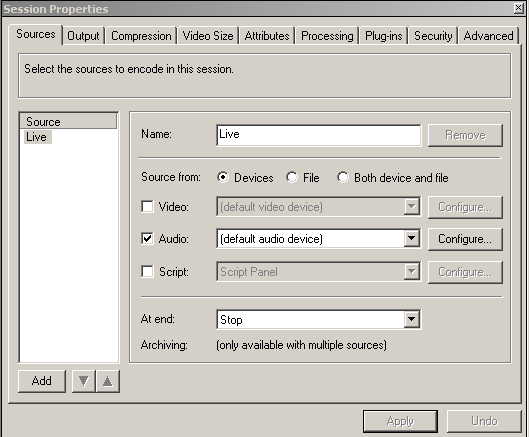
You’ll be presented with the following (Figure 2); [Figure 2]
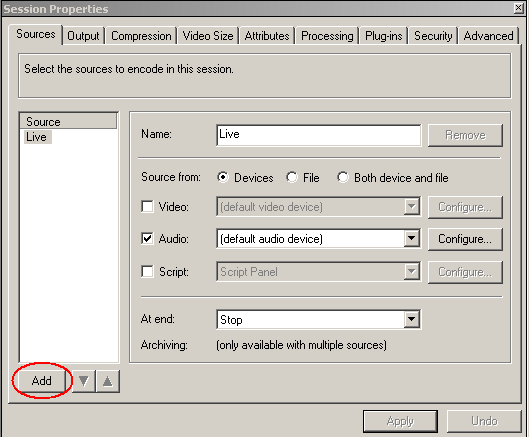
In the bottom left of Figure 2, you will see the “Add” button, click it! This will add a new Source to your Encoder, you can add as many as you like! [Figure 3]
After clicking “Add” you will see the following; [Figure 4]
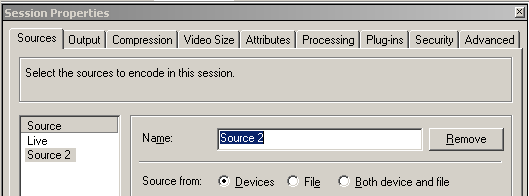
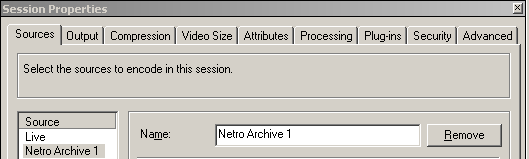
You can rename this by clicking in the field, and typing in your desired name; [Figure 5]
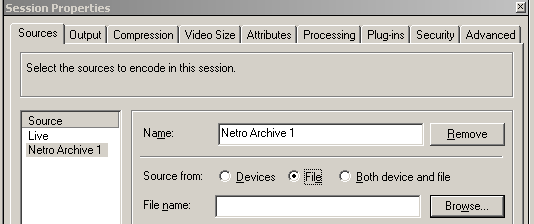
Next, you need to select the “Source from” type, in this case, a file, so we choose the “File” radio button, shown below; [Figure 6]
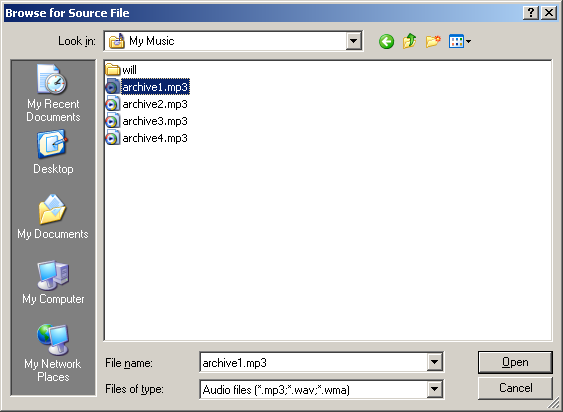
Now, click the “Browse” button to choose your Source File. Select the file you wish to use and click “Open” as shown in Figure 7 below. [Figure 7]
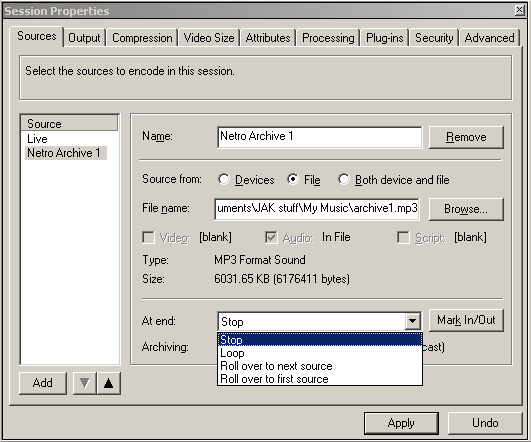
Select from the “At end” drop down menu, shown below, this tells Windows Media Encoder what to do, after playing the Source File, choose “Roll over to first source”; [Figure 8]
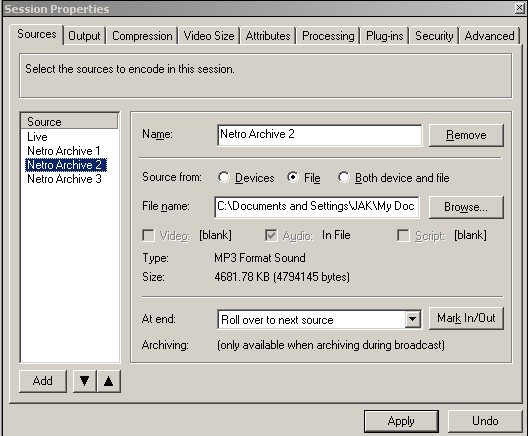
If you add more than one Source File, you may want the encoder to play one file after the other, then loop back to play from your Live Devices. You should select “Roll over to next source” after each additional Source File you add, as shown in Figure 9. [Figure 9]
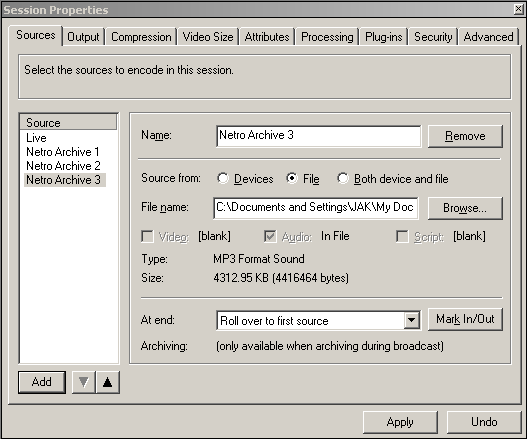
On the
last Source File in your list, you should select “Roll over to first source”, as shown in Figure 10. [Figure 10]
When you have added all of the Sources you need, simply click “Apply” in Session Properties. Now is good time to Save Your Session! This will keep the Encoder Settings you have input, see how to do so in this FAQ –
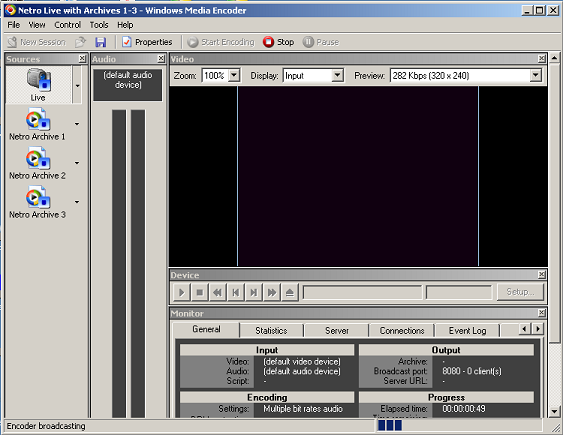
Saving Your Windows Media Encoder Session Now simply click “Start Encoding” at the top of Windows Media Encoder to start broadcasting! You can allow the Encoder to switch between your Sources, as you set up in Figure 8 – 10, or, you can manually switch between sources, by simply clicking on them, as shown below in Figure 11. [Figure 11]